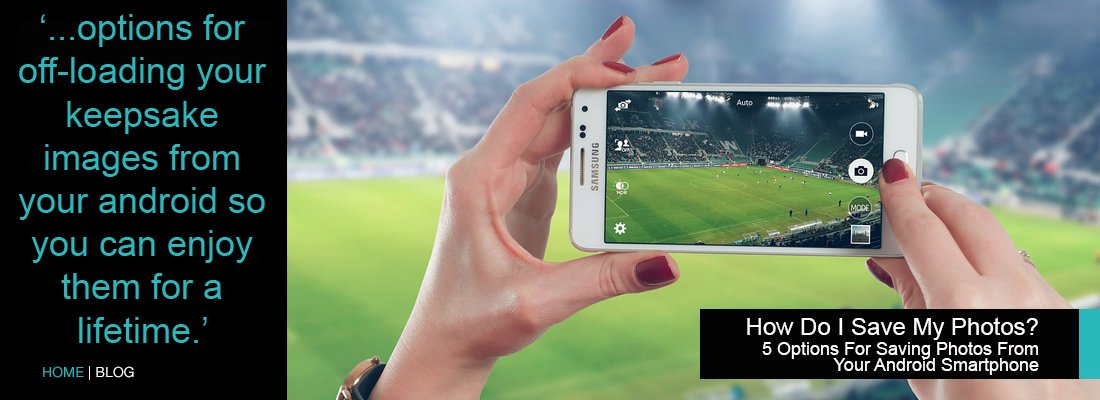
These unedited archives often live and die in our devices, the most pleasing shots shared immediately with friends and loved ones via social media and other sharing applications, and then most are doomed to deletion when our camera’s storage runs out. Out with the old, in with the new. If you are like me, most of the photos deserve to pass away, but there are some precious, precious images that I want to keep for posterity. Many people lament that they don’t know how to save their most treasured smart phone images, or know how to off-load them and save them from the ‘delete all’ function. Here are 5 options for off-loading your keepsake images from your android so you can enjoy them for a lifetime.
Transfer Them Via USB To Your Computer
Plugging your smartphone into your computer via the USB cable that comes along with it is the easiest way to transfer your files into your computer. Simply click and drag them into your desktop and viola! Your photographs are copied over for safekeeping. For those using Windows, auto prompts will appear and give you options on how to manage your files as soon as you connect the USB cable.
As for Mac users, there are some programs such as the Android File Transfer that you can use. You can also check a premium app that costs $35 called Wondershare.
File transfer to your computer is relatively quick and easy, but does require USB contraptions and further action for image organization if you want to be able to find them again!
Email Them To Yourself
If you've only got a few photos worth saving for the archives then emailing them to yourself for capture on your desktop or laptop is a quick and painless. You have to take note though, depending on the email service you’re using, there is a limit on the size of the file that you can send. In general, the file size should not be greater than 10MB. Most smartphone photos are less than 10MB in size and thus email-able.
Using the email function on your smart phone, create a new message, type in your own email address as the recipient, then attach the photo that you want to save. If you'd like, give yourself a hint in the email subject line about the photos' content. This will help you organize them later.
Check your email on your computer, and use the 'save attachments' command to download the attached photo from your email. In most browsers, when you open your email, you need only to click the icon of the attached photo file and you will be prompted to choose the folder where you wish to save the image. Select the folder by clicking it from the left menu bar in the popup, and then clicking 'save'. At this point you can change the image file name to one you can recognize. I organize my photo files in date order, beginning the file name with year (yyyy), underscore (_) and month (08) and then a name like 'first day of school' for easy reference later. File organization will be the topic of a future blog post.
Cloud Back-up
The virtual ‘Cloud’ offers many options for remote storage of images. Accessing the Cloud requires you to ‘upload’ your images to a Cloud storage site for safekeeping. There are many, many Cloud storage options. Two of the most popular for android users are Google Drive or the android app Dropbox. The application for Google Drive is pre-loaded onto android devices, and therefore many feel it is the easiest Cloud storage option.
To automatically save photos to the Cloud, all you really need to do is set the applicant's auto back-up to 'on' in Settings. Once the app for Google Drive or Dropbox is installed on your smartphone, go to 'settings,' find the app, and click on the option “auto back-up on.” Once set, all (note: ALL) your photos or files will be automatically uploaded to the Google Drive connected to your Google account. You may access them again via any device or computer by logging into your Google Drive account. The small group of squares icon in the upper right corner of your google screen will let you log into Drive in the dropdown.
Dropbox is not pre-loaded and using it will require installation of the app on your device. It's free, and like Google Drive uses a Cloud-based server to sync your photos and files. A great feature is that once synched you can access your uploaded files or photos from multiple computers and devices, all with Dropbox installed and logged into the same account. I use Dropbox addictively to organize and access client images, personal photos, art works in progress, and more. Sharing features allow you to work collaboratively or share stored photos easily.
Once Dropbox is installed, you need to create an account, and then tap 'turn on Camera Upload’ in Dropbox settings on your phone. Free Cloud services limit the data storage available: Dropbox has 2 GB of free storage. Unlimited storage requires a paid upgrade.
Photo Sharing and Storage Sites
Aside from large Cloud storage sites, there are many popular and powerful photo sharing apps and services which offer organization and storage. One of the most popular is Flickr. It not only allows you to save and backup your photos but it also enables you to adjust and improve your photos with built-in editing tools and filters. In addition, sites like Flickr give easy control over the sharing of your photos.
Some other examples of photo storage, editing and sharing apps are Dropbox’s Carousel, Shutterfly’s ThisLife, and Google's PICASA. Photos stored here can be accessed through the web as well as via mobile app. They all require registrations to create your own account. All of them have entry level free accounts with limited storage, except for Shutterfly which offers unlimited storage for your photos. Dropbox’s Carousel offers a free 2GB storage and Picasa offers 1GB free storage.
External Drives and Devices
External drives and devices may be the most 'old school' way of storing and backing up your photos, but external drives have evolved alongside other technologies. They offer very large storage capacities at ever shrinking sizes and prices, and new USB technologies make transfer time extremely fast, directly from your smart phone! Mostly they are plug and play, requiring no setup or menu navigation, and appear on your device's screen seconds after plugging them in.
The Leef Access MicroSD is a tiny, powerful off-loader perfect for on-the-go use. It plugs into your smartphone through its micro USB port, and has a port at the other end to connect to a MicroSD card reader. Following prompts photos can be transferred or copied from your phone to the MicroSD card. Cards can be catalogued and stored, or images off-loaded to external hard drives or computers.
My Passport Wireless from Western Digital allows you to use Wi-Fi to connect your device to its SD storage system to copy over photos, videos and other files easily and quickly. A built-in battery allows for 6 hours of video streaming or 20 hours if on standby -- good for on-the-go playback.
This post was first published on Executive Lifestyle Magazine and has been reposted on Executive Lifestyle with the permission of the author.
Did you enjoy this post? Please comment, like and share!


